FAQs on Tree Installation
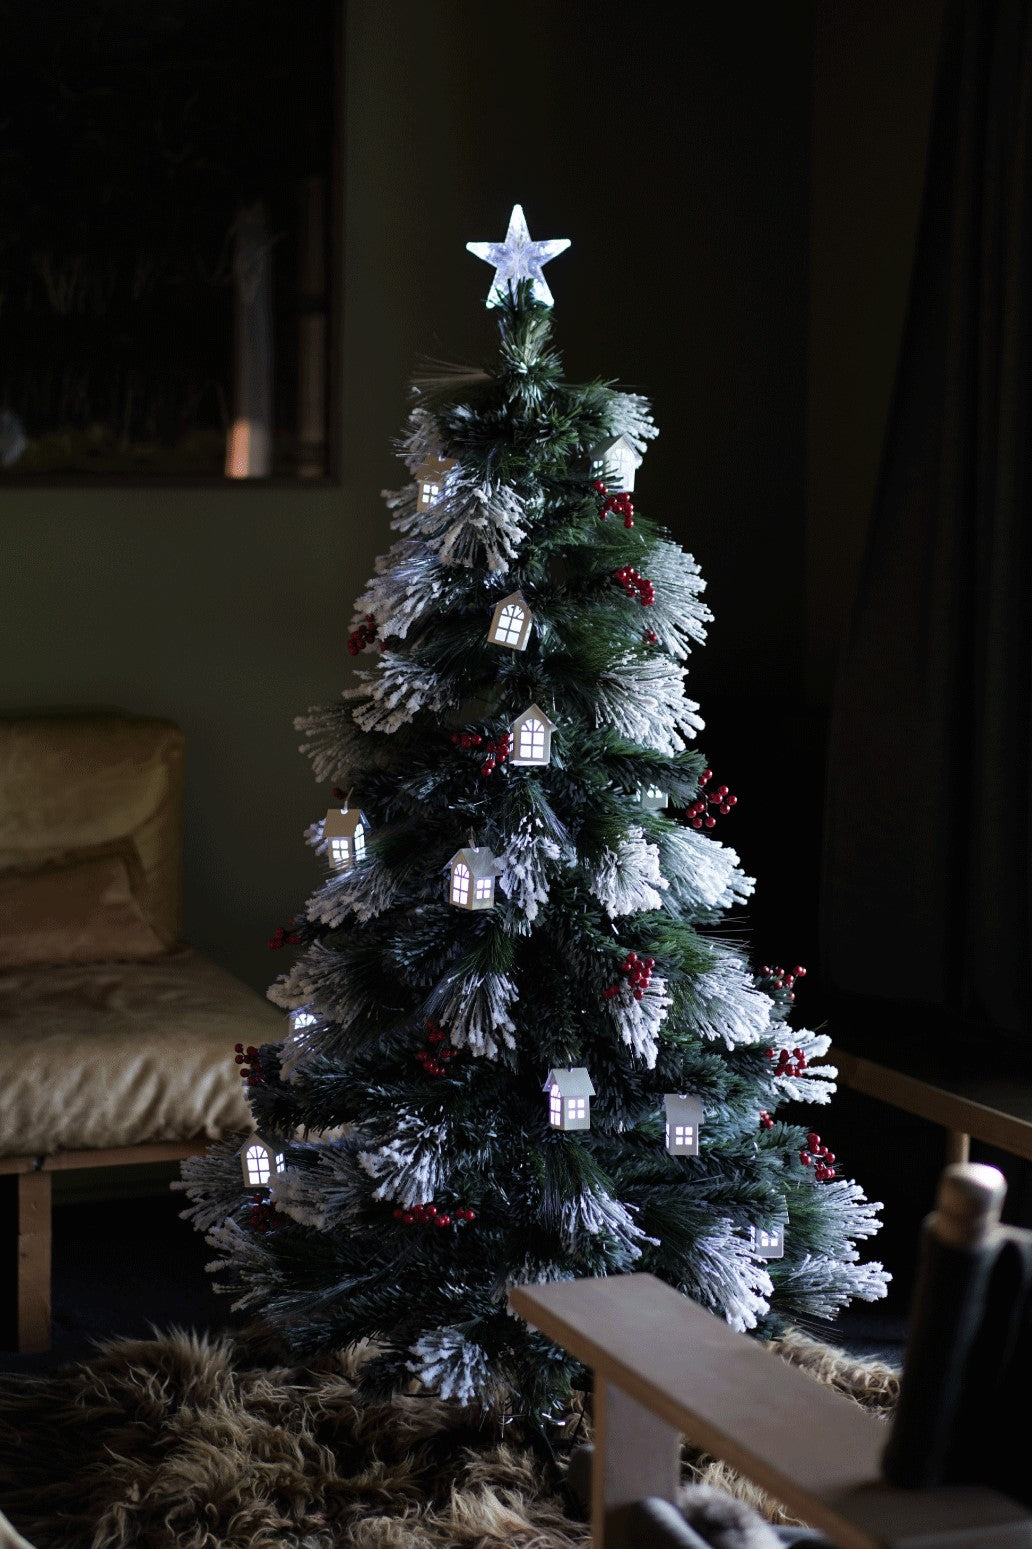
Our artificial Christmas trees can be broadly categorized as the traditional non-light trees, snow trees with LED lights, and optic fibre trees. Size-wise, our tree products come in the heights of 1.2m, 1.5m, 1.8m and 2.1m. Notably, 1.2m-height trees (optic fibre) are single-piece units that can be simply attached to the metal base, and the rest in other height dimensions contain 2-3 body parts plus the metal base and screws. There is no need to panic however, as the self-installation process is convenient, fun and easy!
How to assemble my artificial Christmas tree? (Applicable to size 1.8m and 2.1m)
All self-installation instructions can be found on the plastic bag that contains the metal base. Generic steps to be followed encompass the followings:
- Slide base legs apart to have them square to each other in an X shape
- Place the lower trunk part of the tree in the metal base as far as possible, and then tighten the screws into eyebolts to fix and straighten
- Gradually fold out branches from the bottom to the top
- Place the middle trunk part of the tree into the lower trunk part to then fold out branches (working upwards from the bottom), and connect lights if it is for the LED snow tree (ignore this for traditional non-light trees)
- At last, place the top trunk part into the middle part, and connect lights if it is for the LED snow tree (ignore this for traditional non-light trees)

How to assemble the Optic Fibre tree? (Applicable to size 1.5m)
Again, all self-installation instructions can be found on the plastic bag that contains the metal base. Generic steps to be followed for all 1.5m Optic Fibre trees encompass the followings:
- Slide base legs apart to have them square to each other in an X shape
- Place the lower trunk part of the tree in the metal base as far as possible, and then tighten the screw to fix and straighten
- Gradually fold out branches from the bottom to the top
- Place the top trunk part of the tree into the lower trunk part to then fold out branches (working upwards from the bottom), and connect the light socket
- Plug into power point, turn on lights, and enjoy!

Styling & Shape Formation
After completing the installation, efforts on shape formation determine the outlook of the tree, particularly regarding the tree’s degree of fullness and design. You are welcome to improvise to either create an ‘upswept’ or ‘downswept’ style on your artificial Christmas tree, and the generic hints on shaping and styling consist of the followings:
- Start from the back (inner side) of the branch to slowly pull each tip out
- Gradually pull out side branches from the back (inner side)
- Separate sprigs from main stem and move them into different directions to make each branch look full
- Work upward from the bottom to adjust branch layers and create unique tree shapes as per your preference
- Adjust branches, side-branches, tips and sprigs to fill ‘voids’
- Finalize the work, inspect, and get delighted!

